 "MM54" (mm54mk2)
01/31/2016 at 17:54 • Filed to: SIM_BUILD
 1
1
 2
2|
"MM54" (mm54mk2)
01/31/2016 at 17:54 • Filed to: SIM_BUILD | 1
| 2 |
Finally got some work done on the racing seat setup - a little bit was done a couple weekends ago, the rest of the progress here was made this past weekend while watching the 24 Hours of Daytona (if you didn’t watch it, you really missed out).
First order of business is seat rails - I needed something to connect the sliders on the seat to, well, everything else. There didn’t see to be any sort of cheap universal rails available, so I picked up a couple feet of 1.5" x 1/8" aluminum angle stock and made my own.
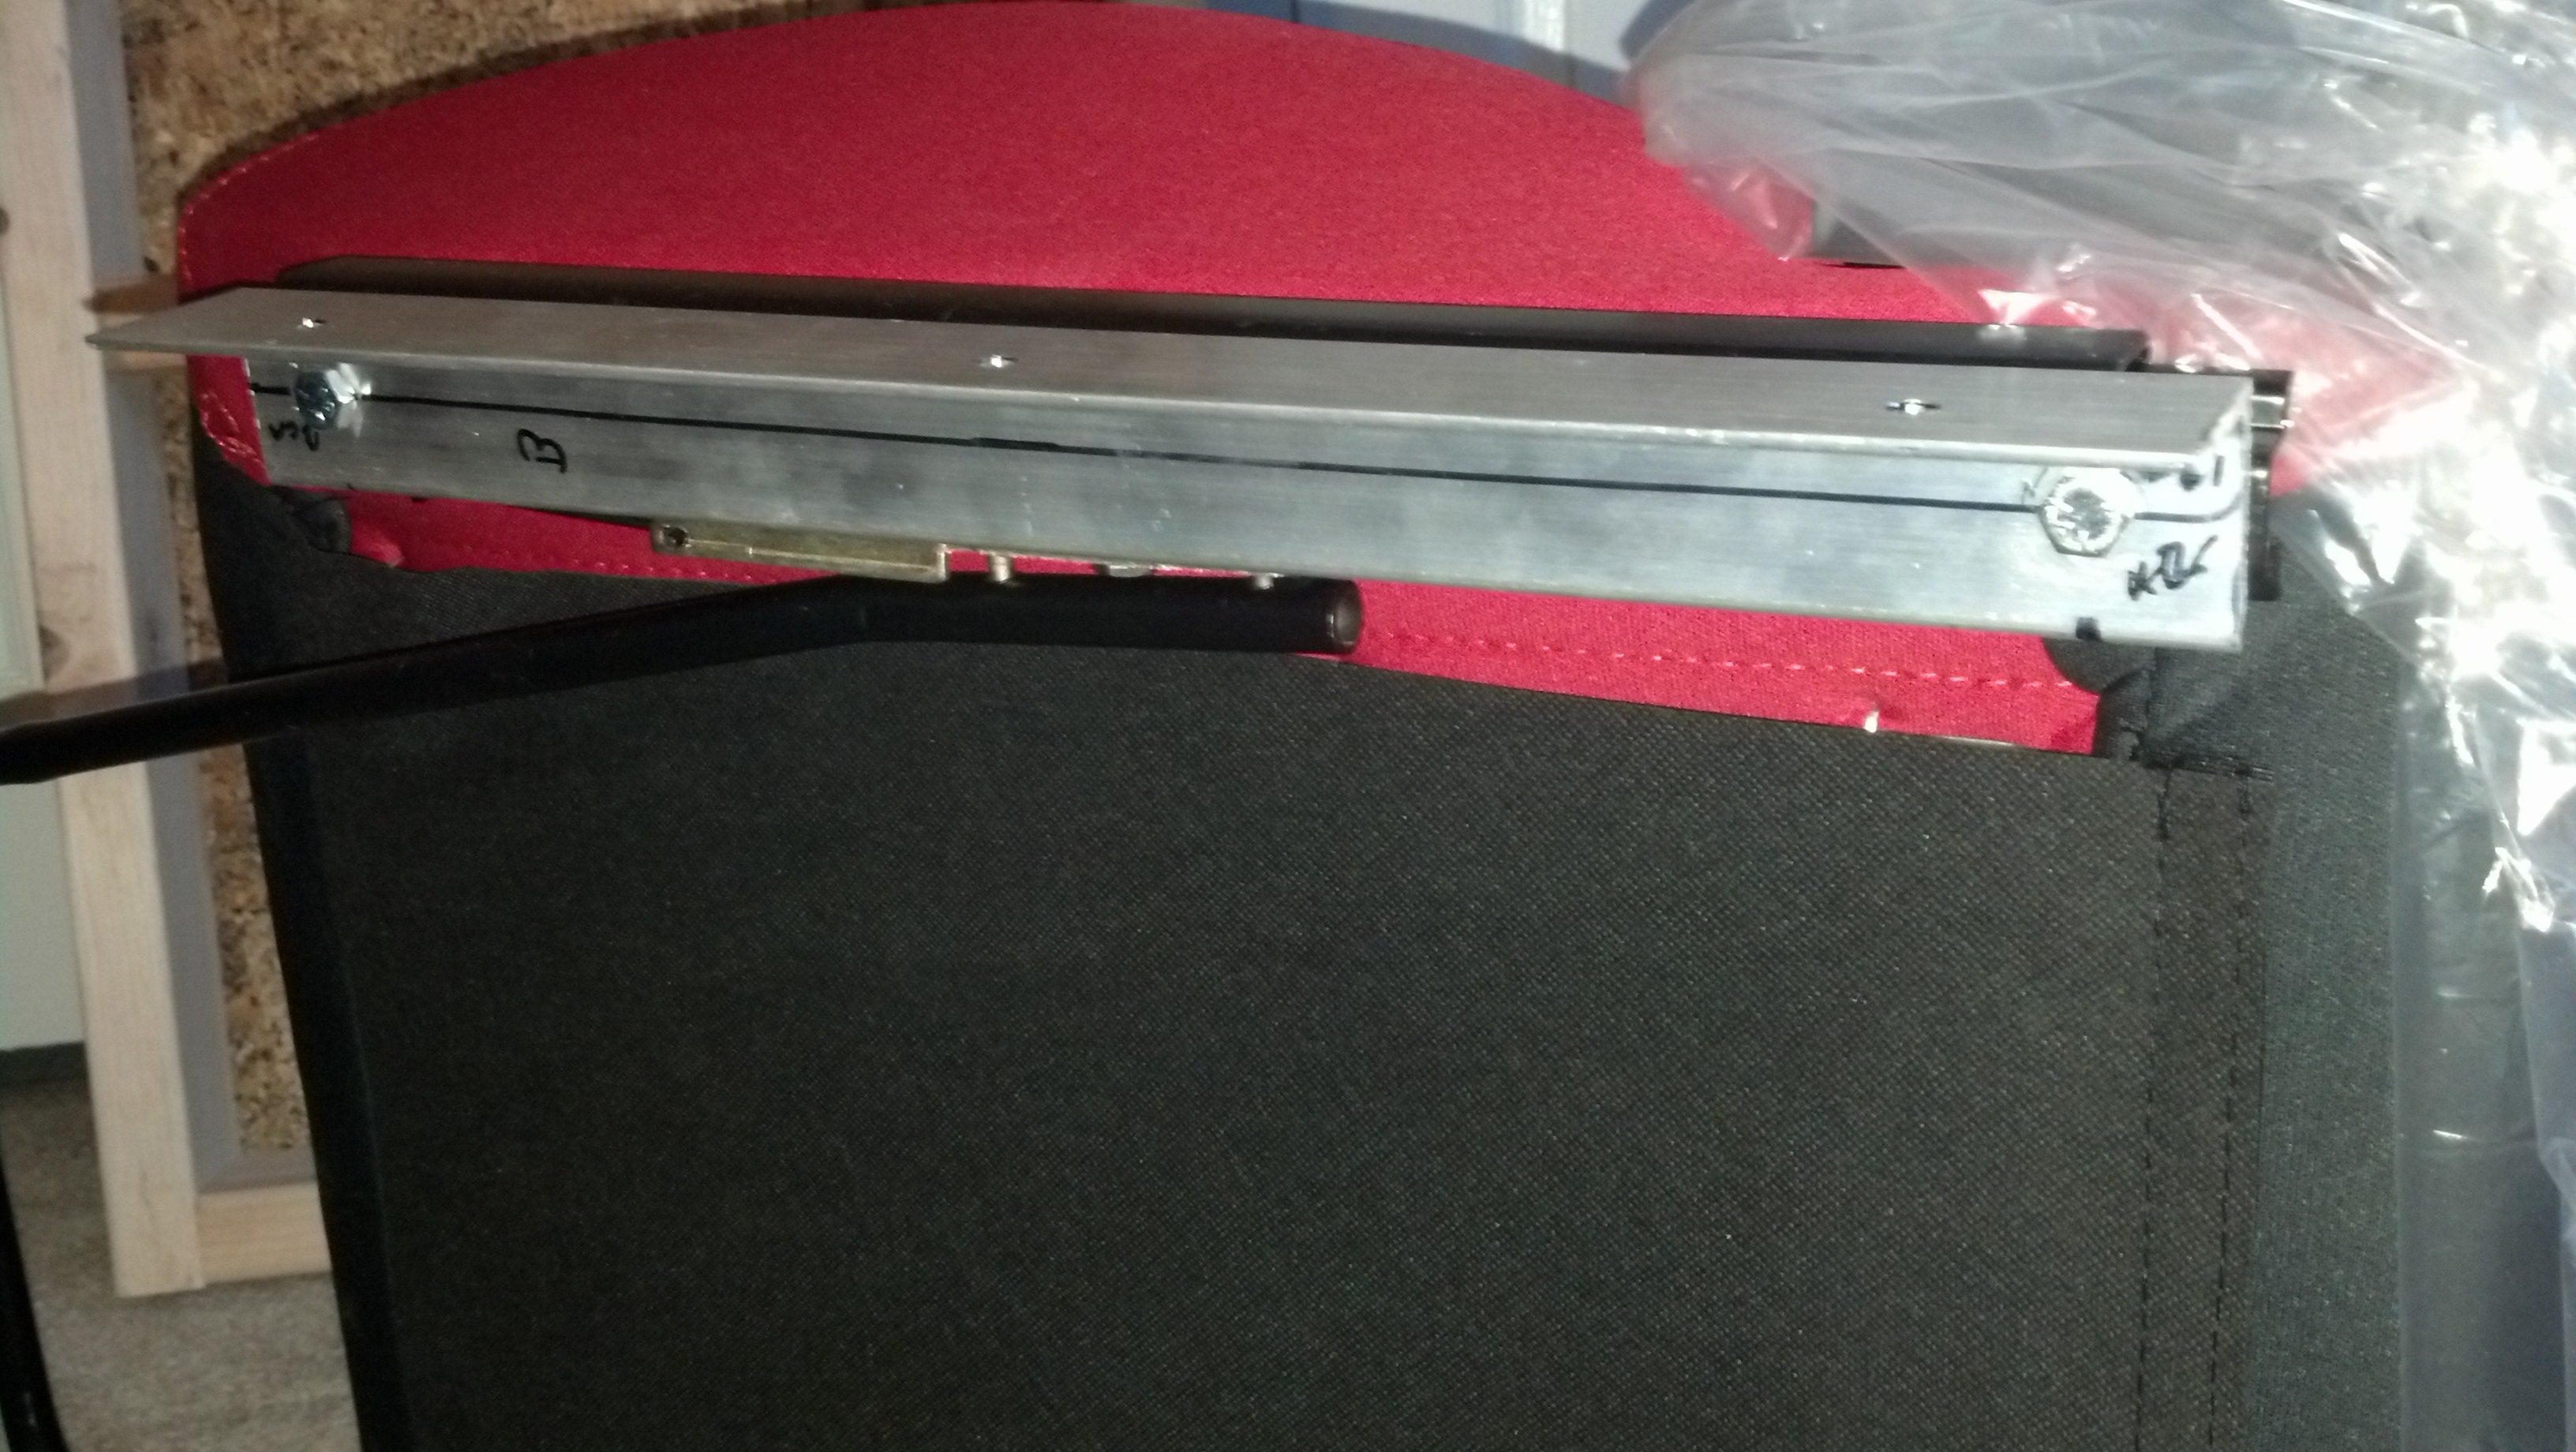
Sorry for the lack of pictures here - this is the part I did a couple weeks ago and I forgot that I hadn’t taken any more pictures before proceeding. Basically, the angle stock bolts on the sliders as any rail would, and has three cross-holes on the other leg.
Changing gears (ha! an automotive pun!) it was time to make the base - a platform for everything to sit on. Some quick figuring gave me the dimensions I needed, and 2x4s were cut appropriately and secured with some 3" screws.
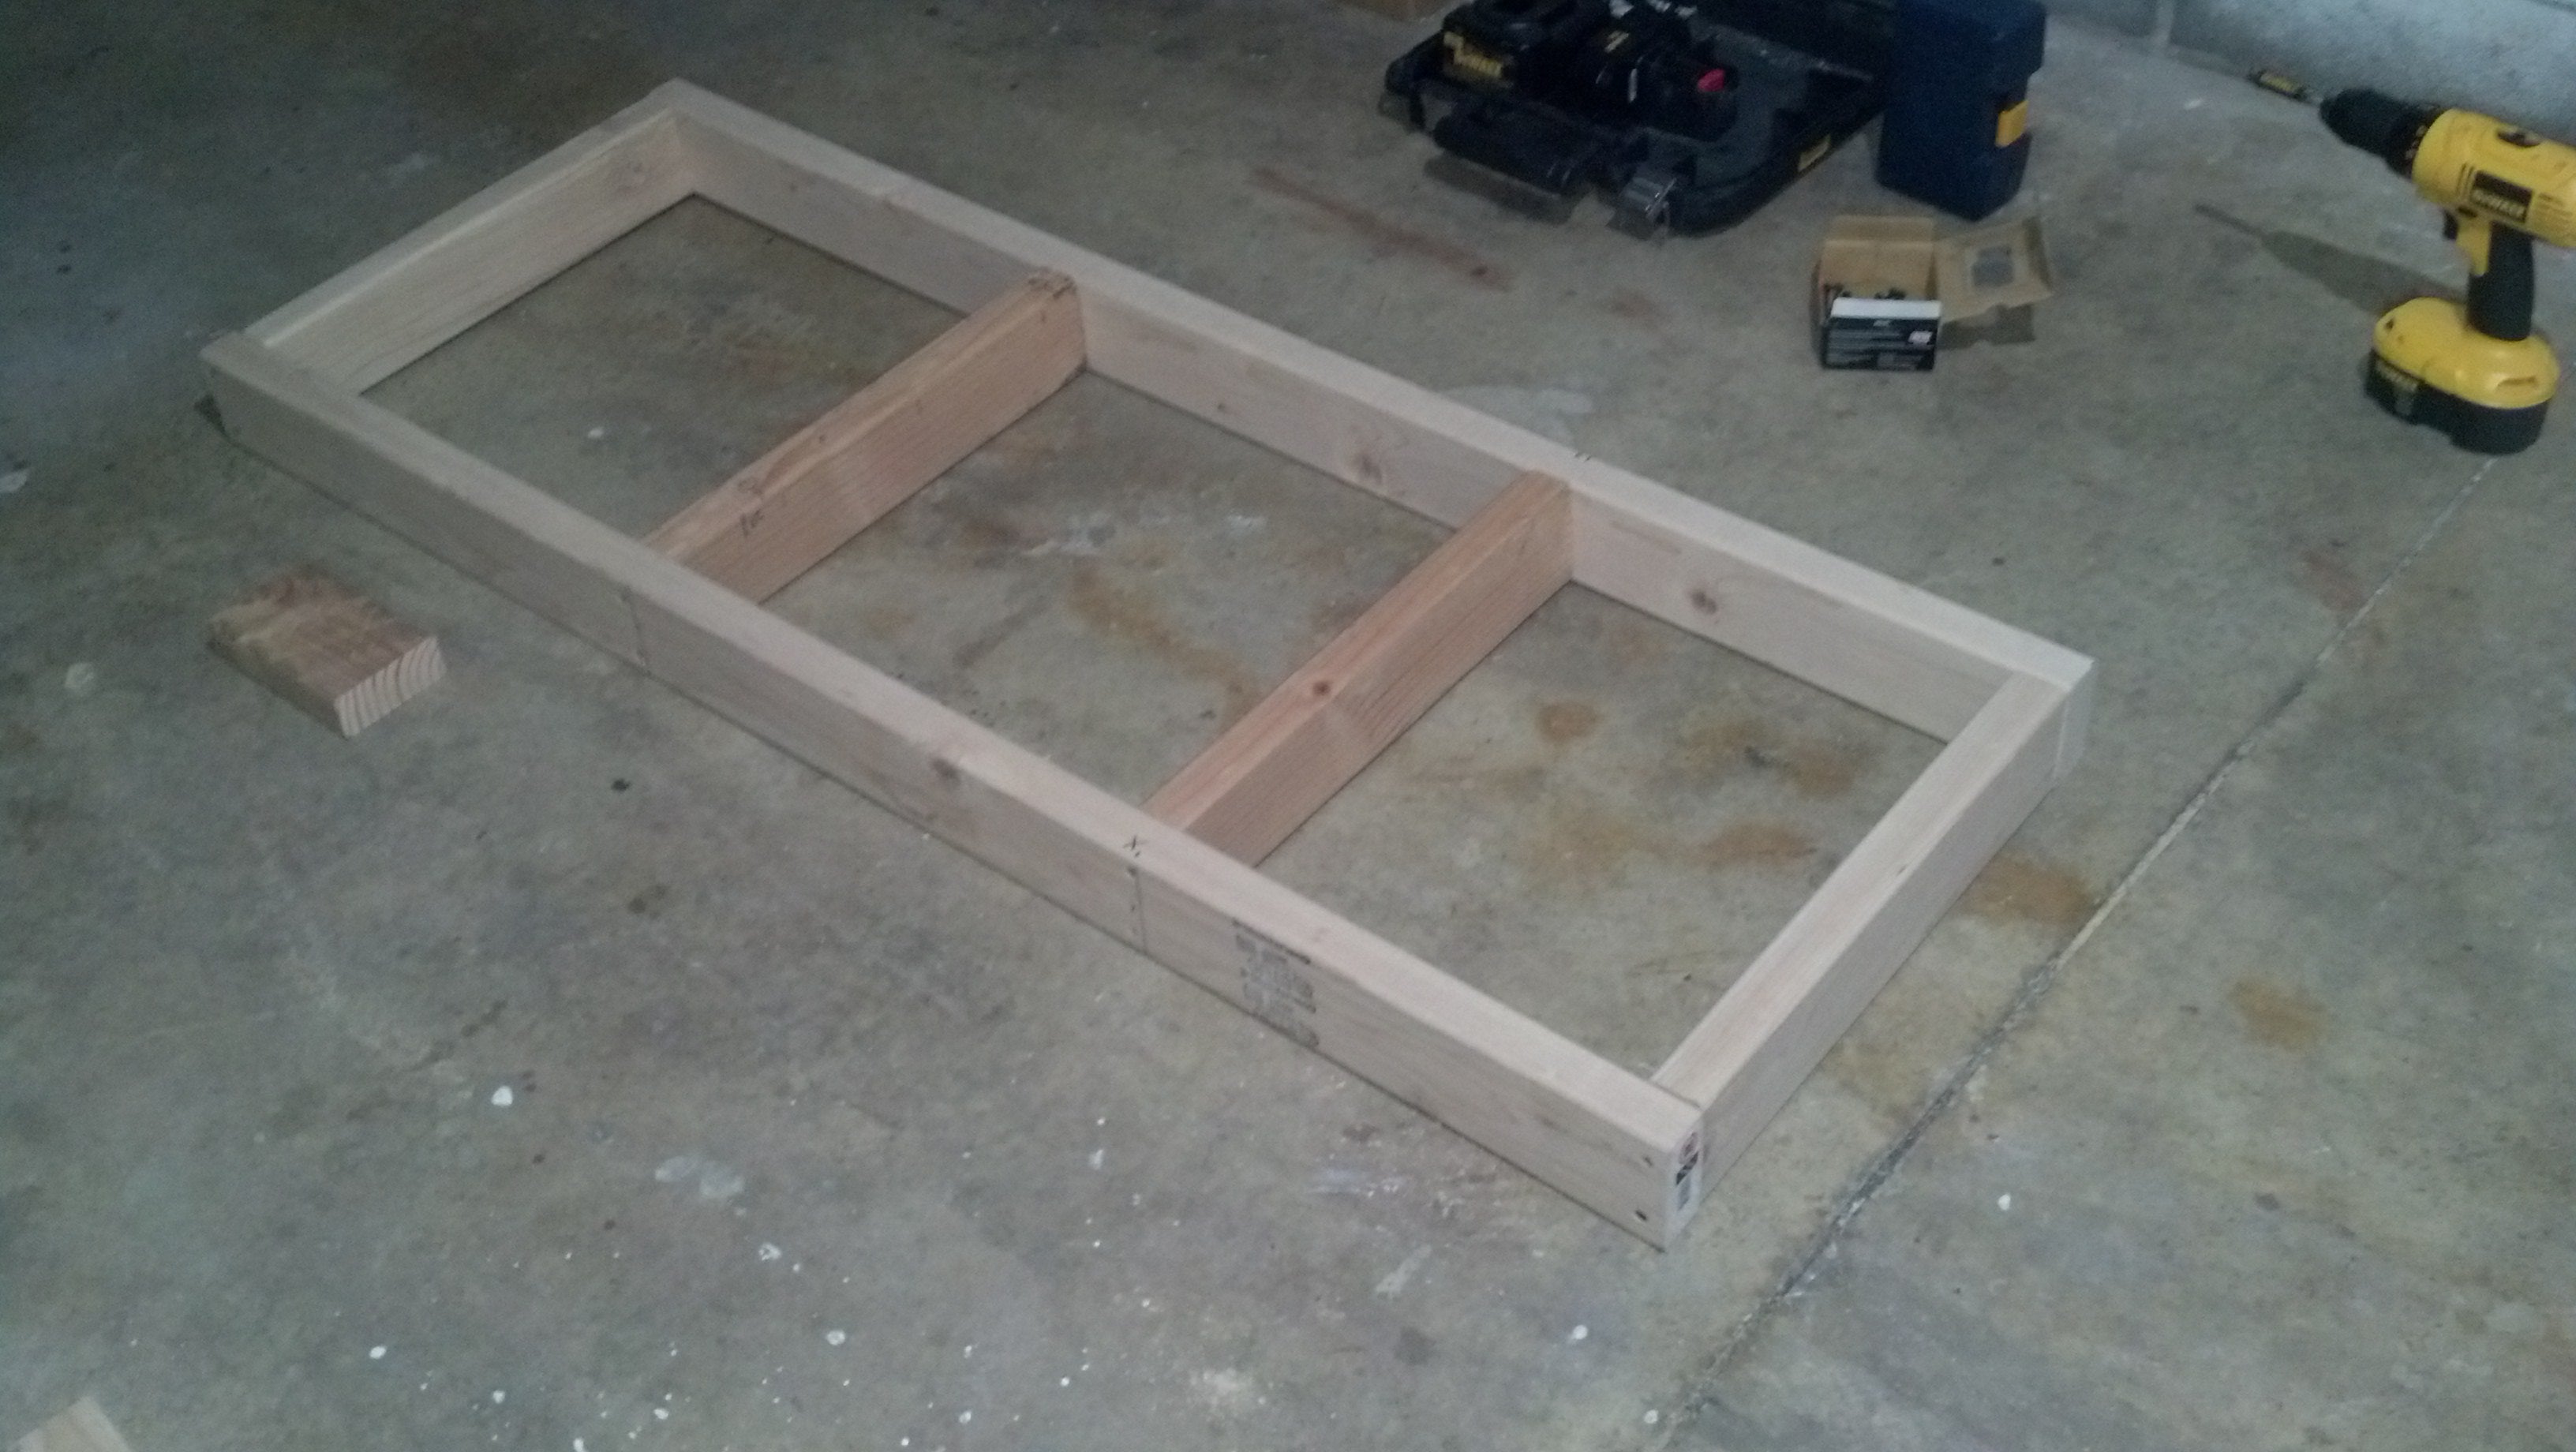
The center cross-pieces are spaced so that one will go under the front edge of the seat, and the other splits the difference of the remaining space ( aka I know they’re not spaced evenly - that’s intentional ).
To top this, I just cut a piece of 7/16" OSB - if I didn’t plan on putting some sort of carpet on this when I was done, I’d have used plywood for the surface finish. This sheet was secured with some 1-ish inch screws. It turns out I didn’t take any pictures at this point, either.
A bonus of working in the garage is that I used all the sawdust to soak up most of the oil my car has misplaced.
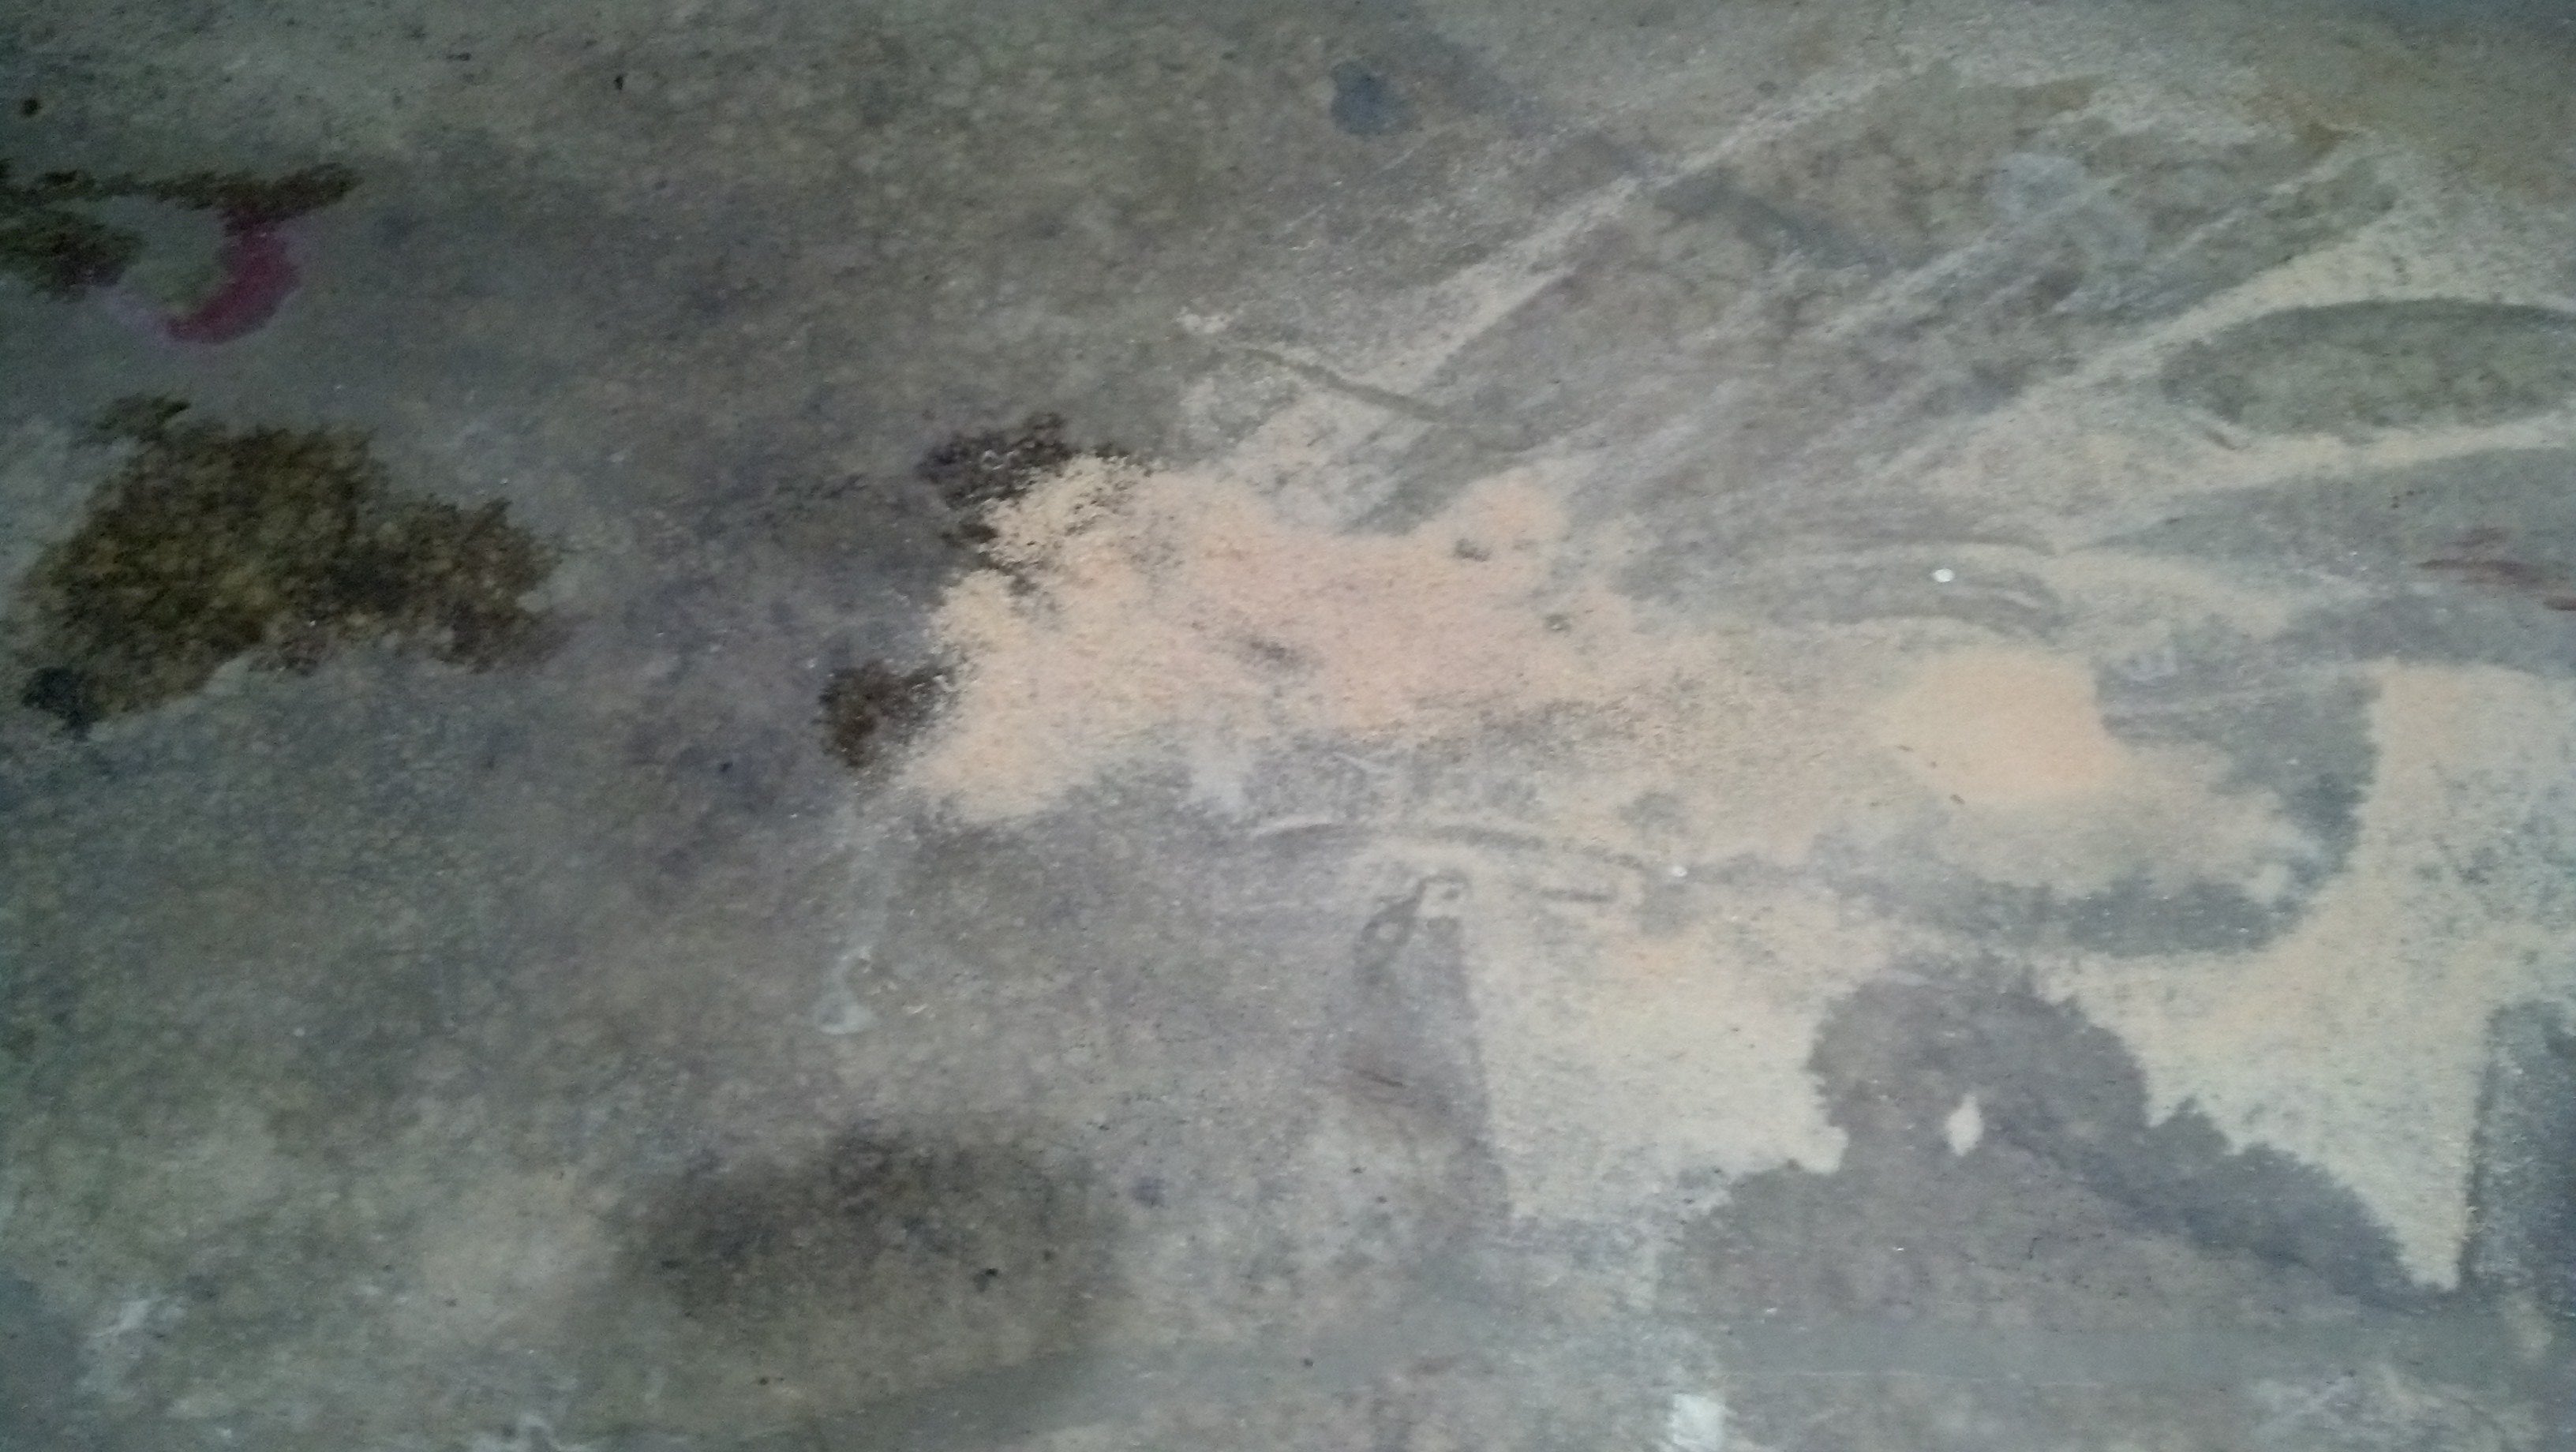
(Top left: Oil cooler lines, cooler side. Middle Left: Oil cooler lines, engine side. Center: Rear main.)
Next up comes attaching the seat to the platform - simple enough. Two 2x4s were cut to the same length as my rails, and the top edge notched to clear the head of the bolt which holds the rail to the slider.
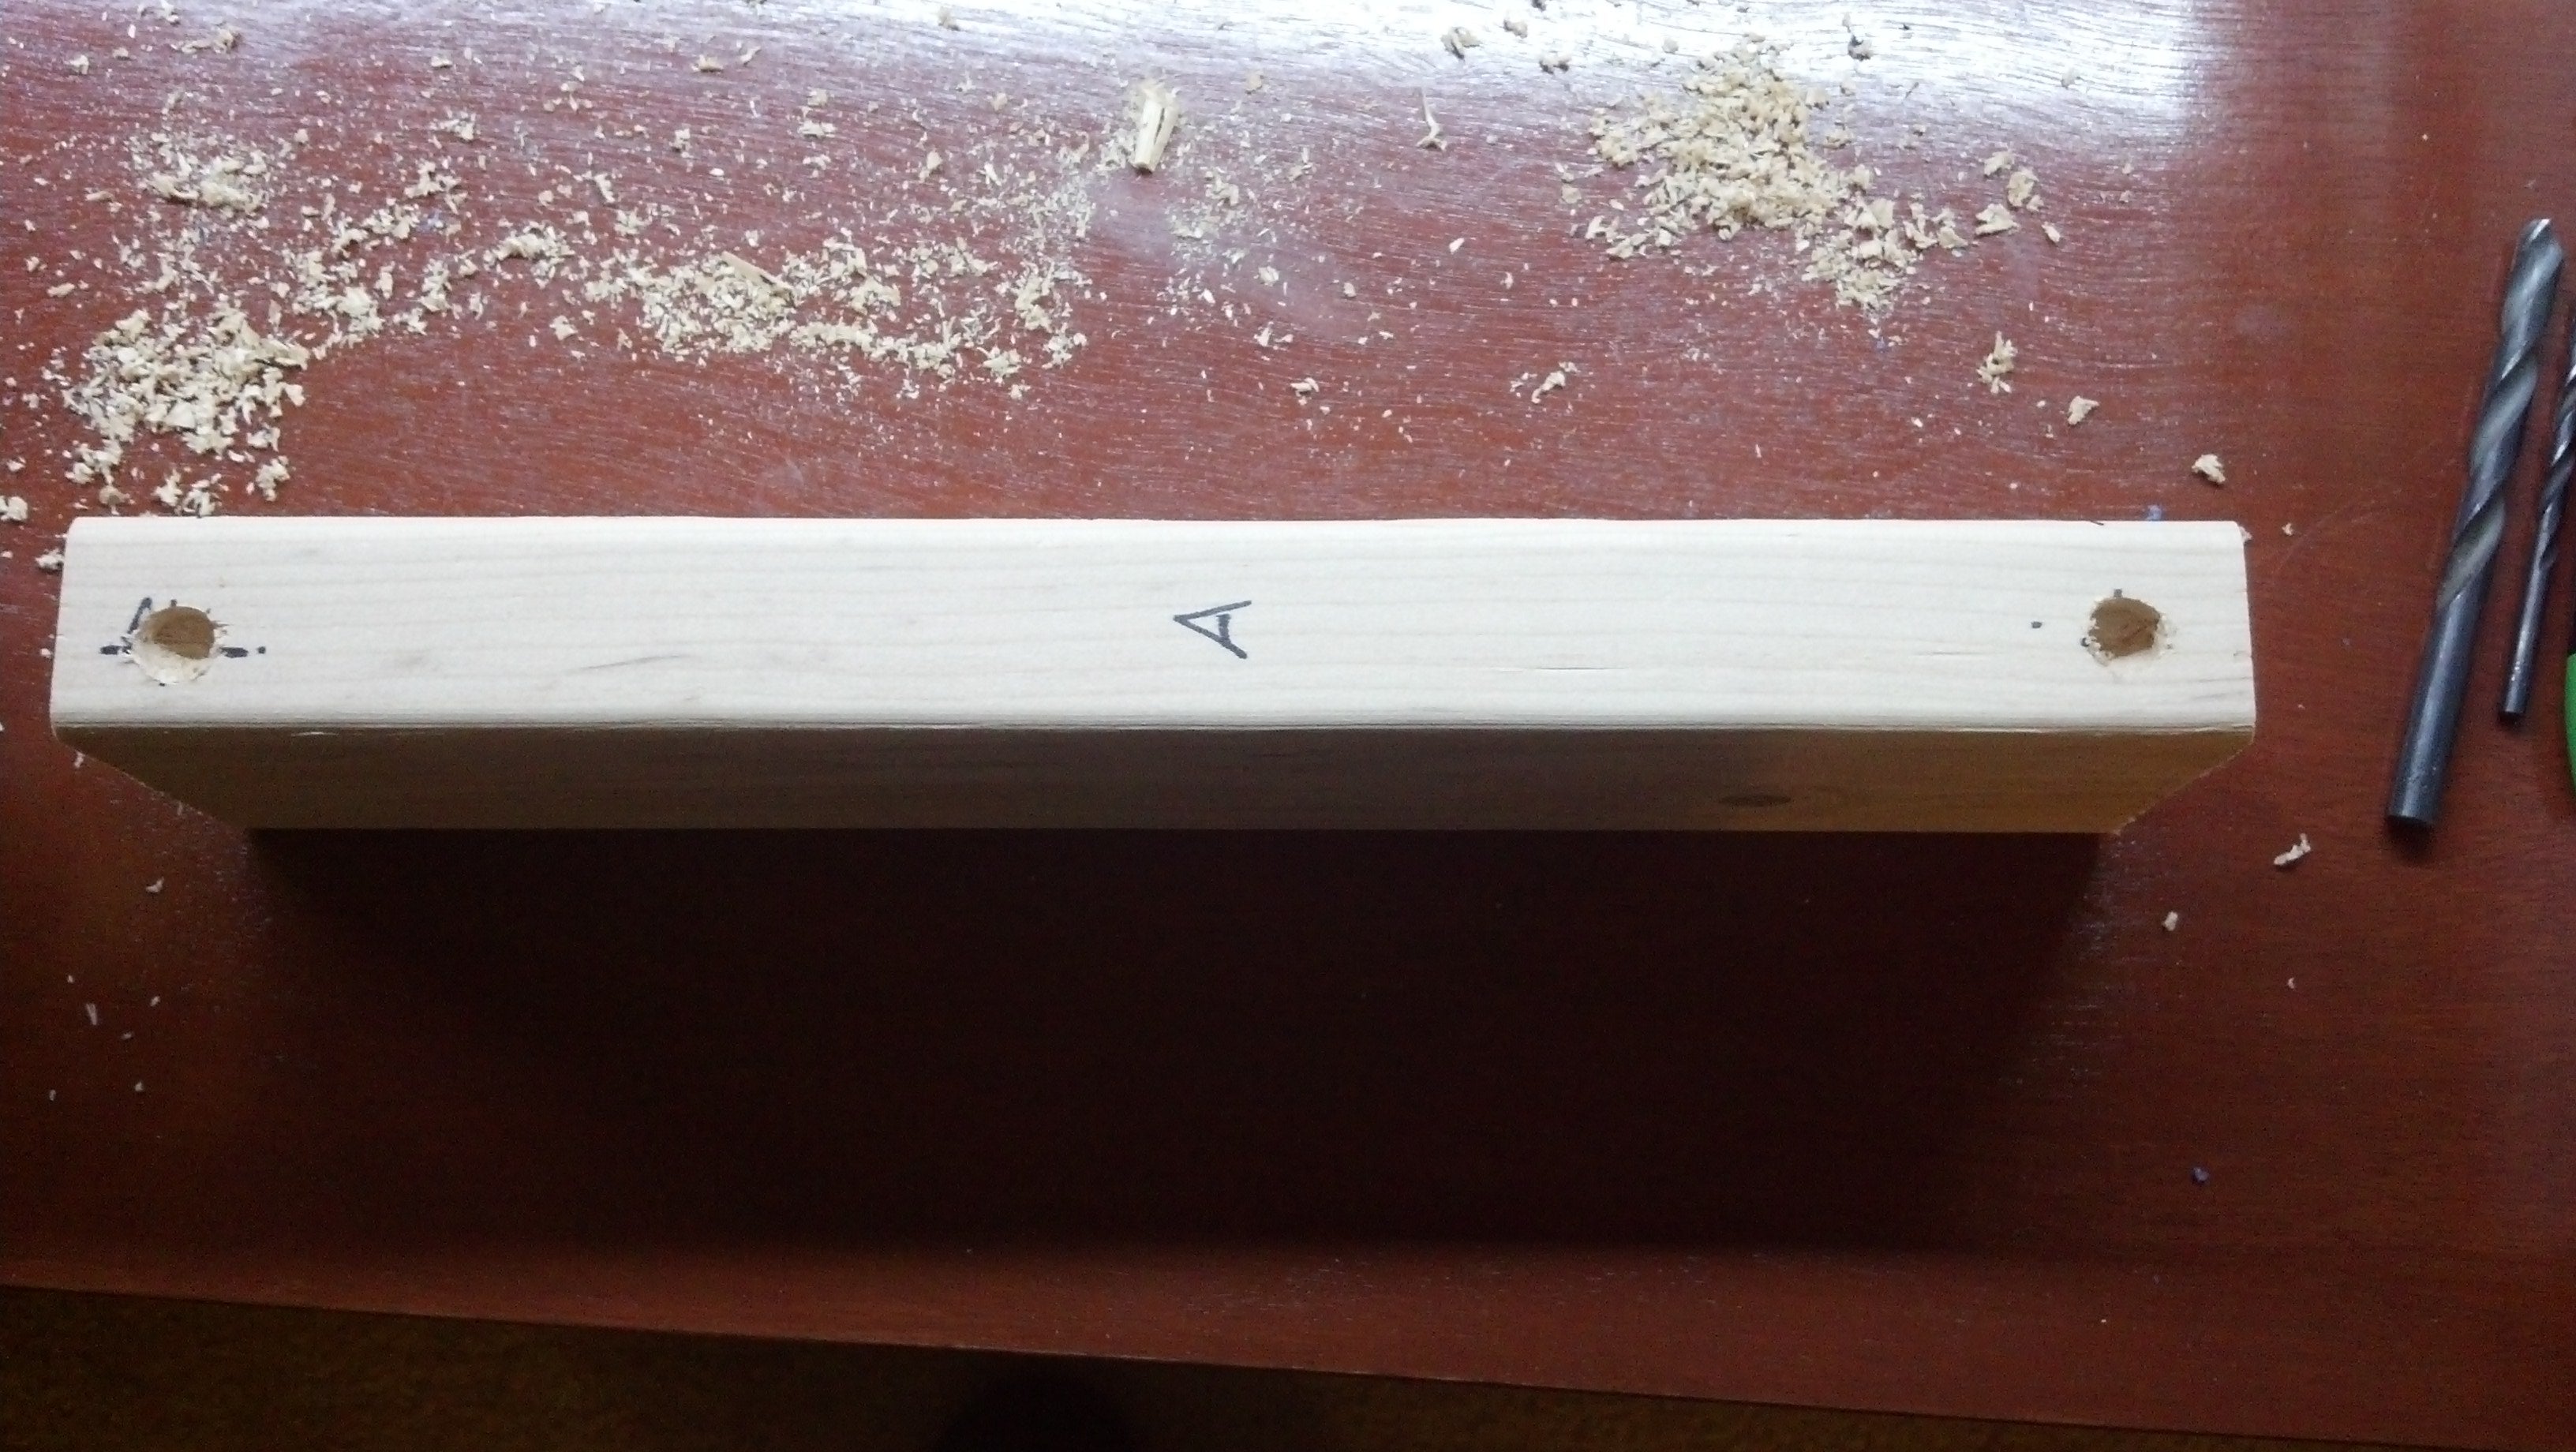
After verifying the fitment of this, the three cross-holes were marked on the board and drilled to 1/64" larger than the bolts, because my 1/4" drill bit is very dull.
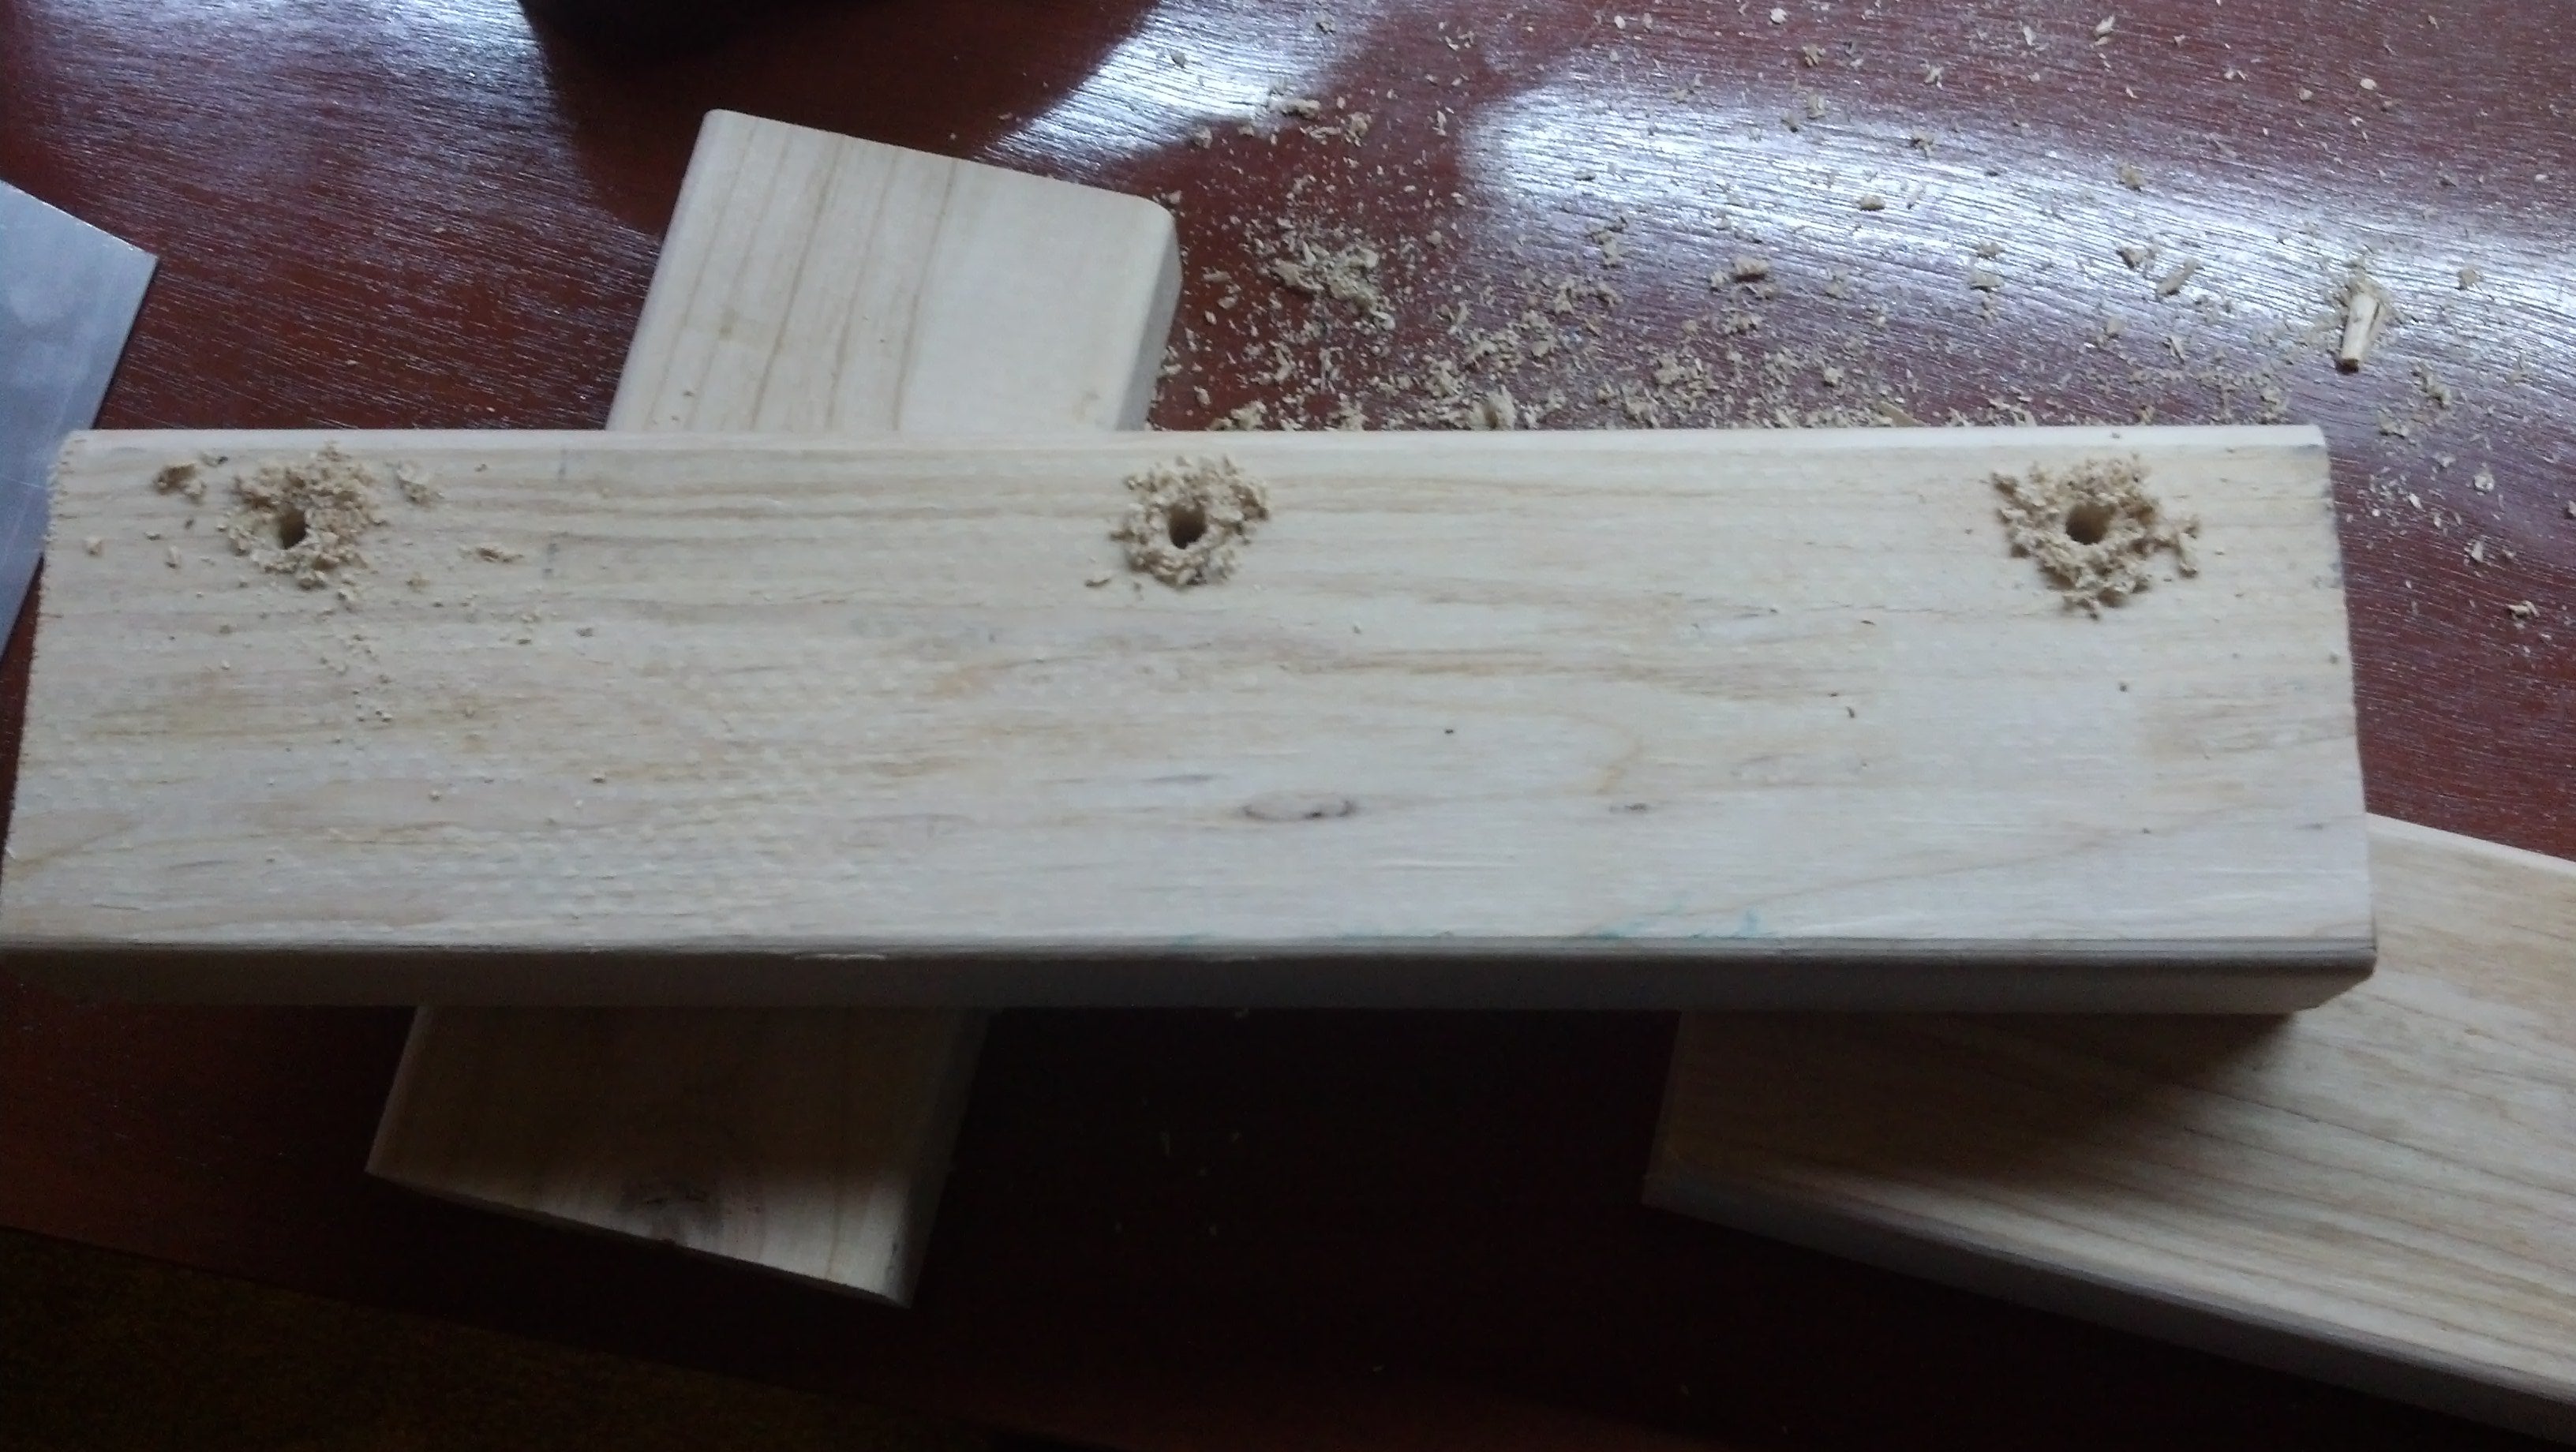
(Cross drilled and slotted seat mounts, yo)
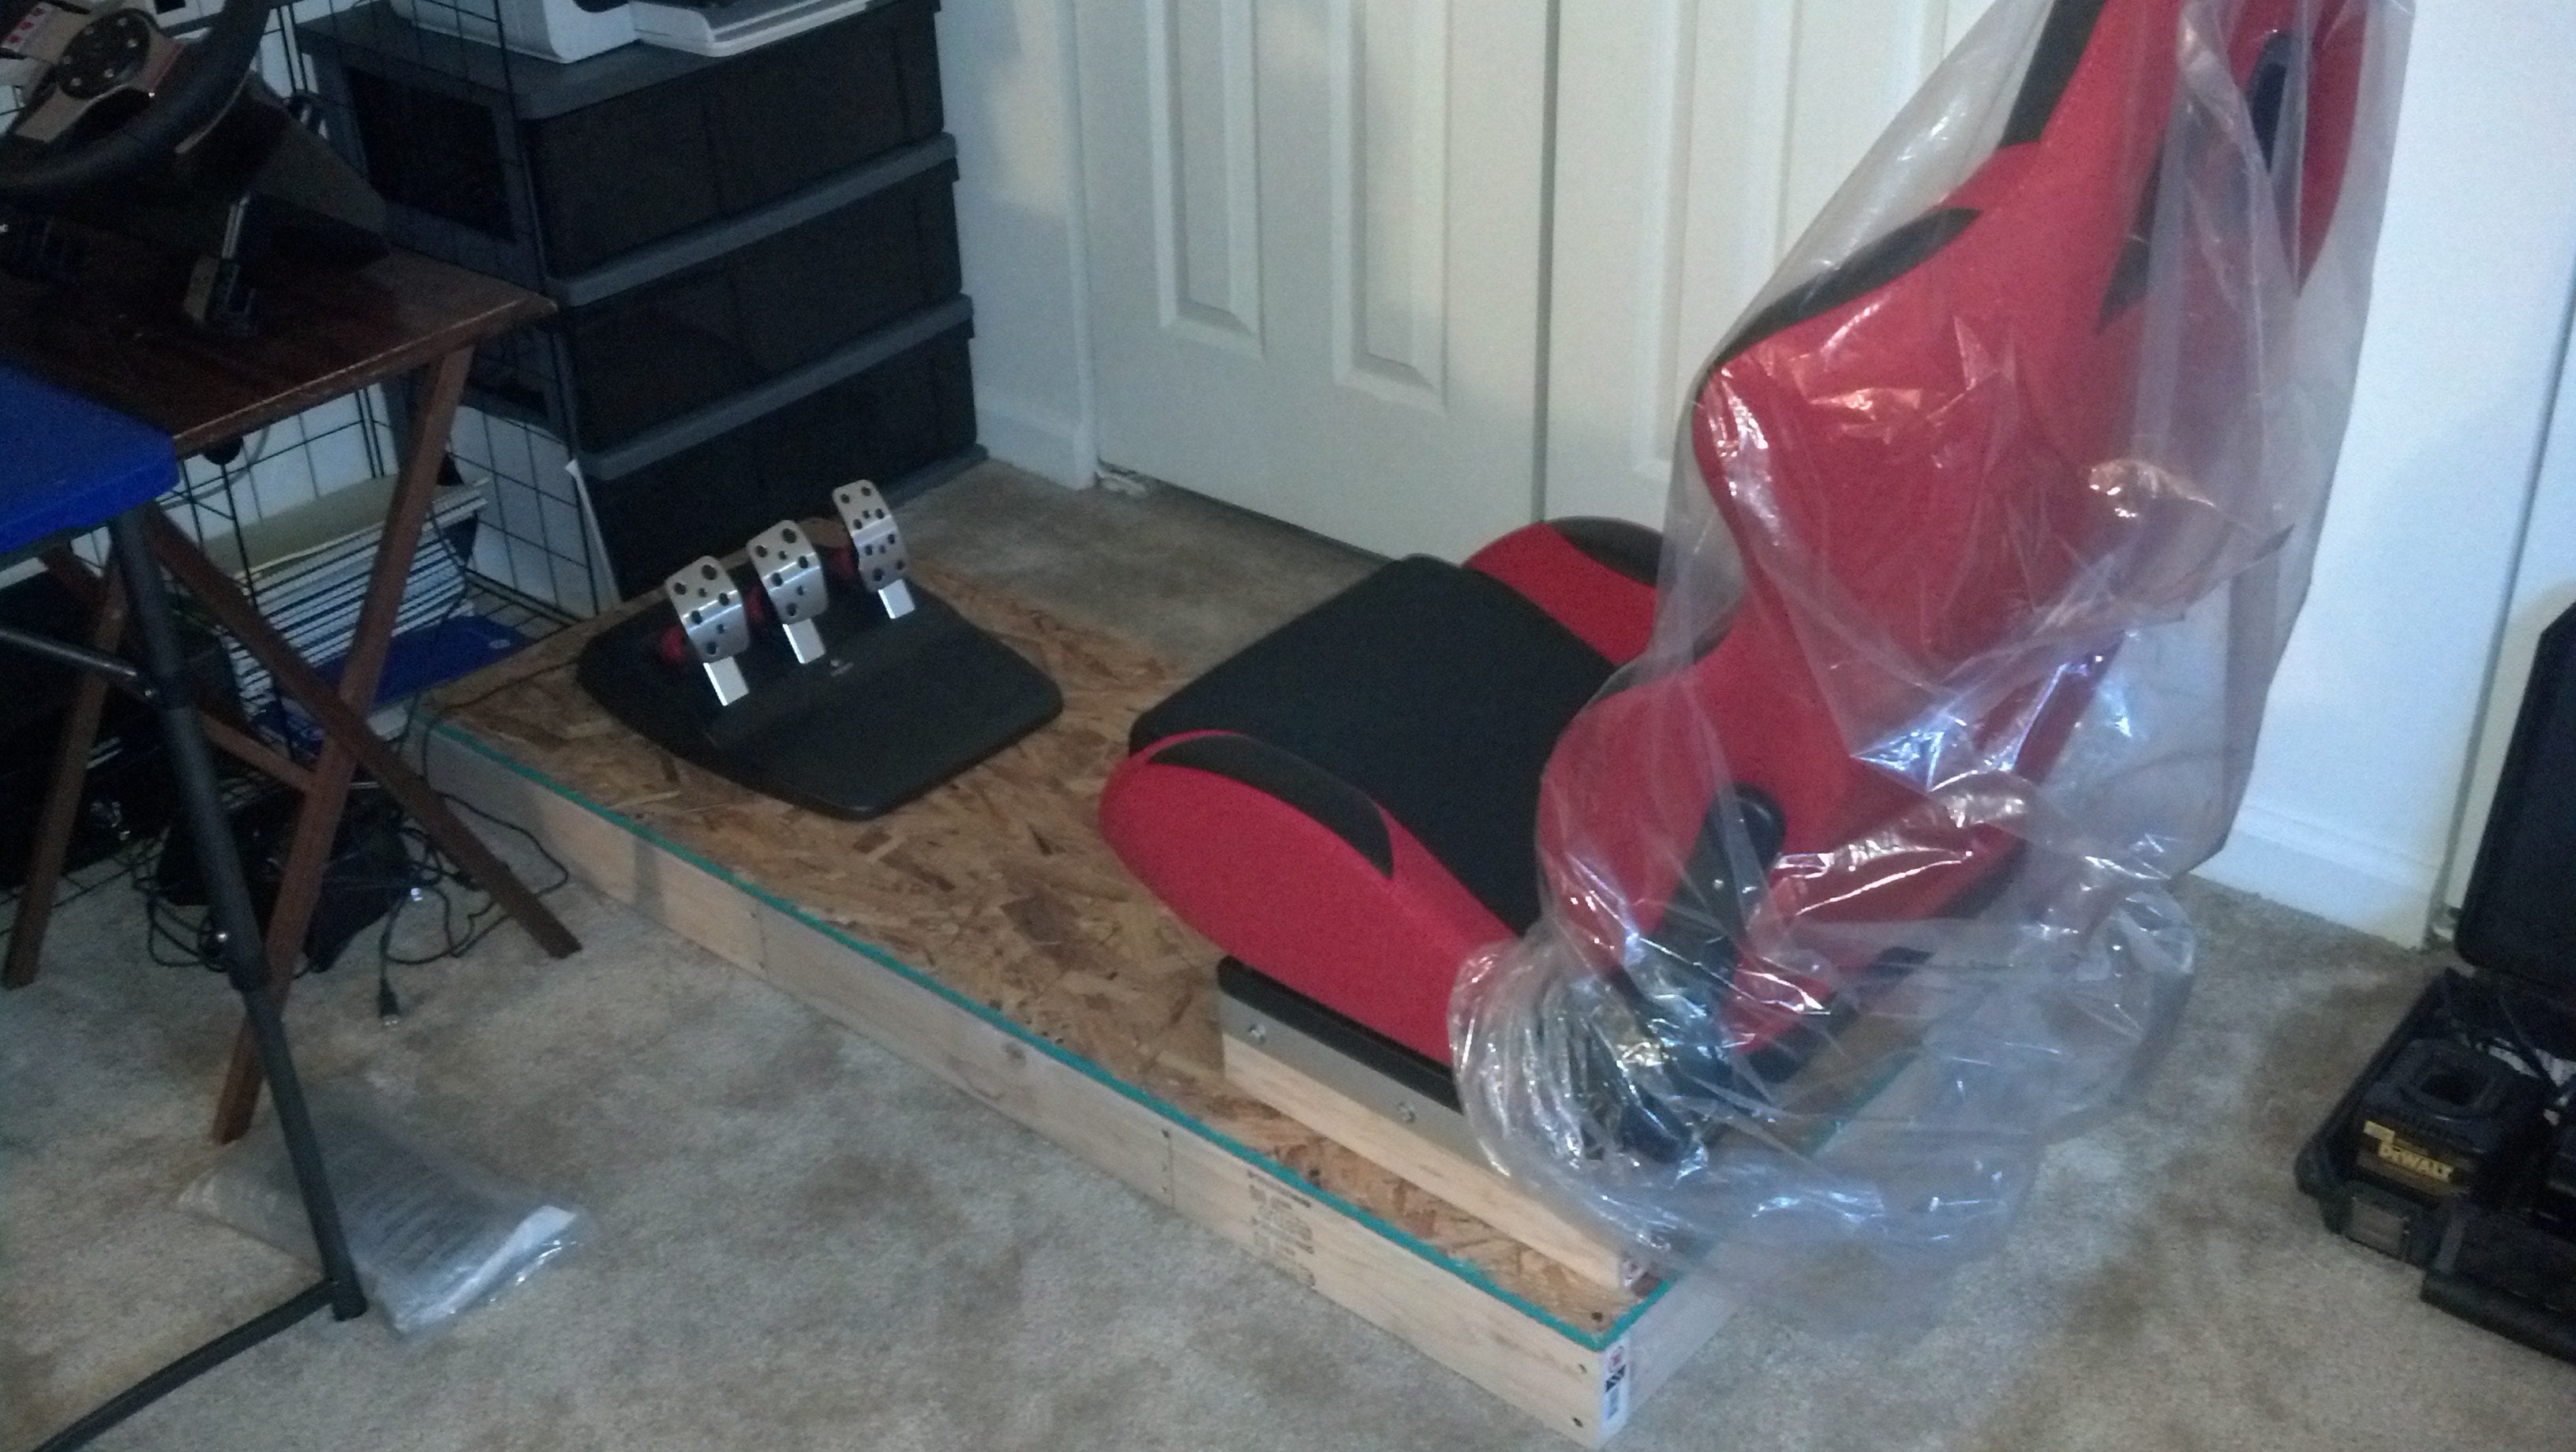
From here, it’s just a matter of bolting up these boards to the rails. As I suspected, the height of this feel about right for a relative floor-to-butt height for the seat, in a racing setup. If I were building a limousine simulator, it would be higher. If I do decide it needs to go up some, it will not be difficult to add a spacer.
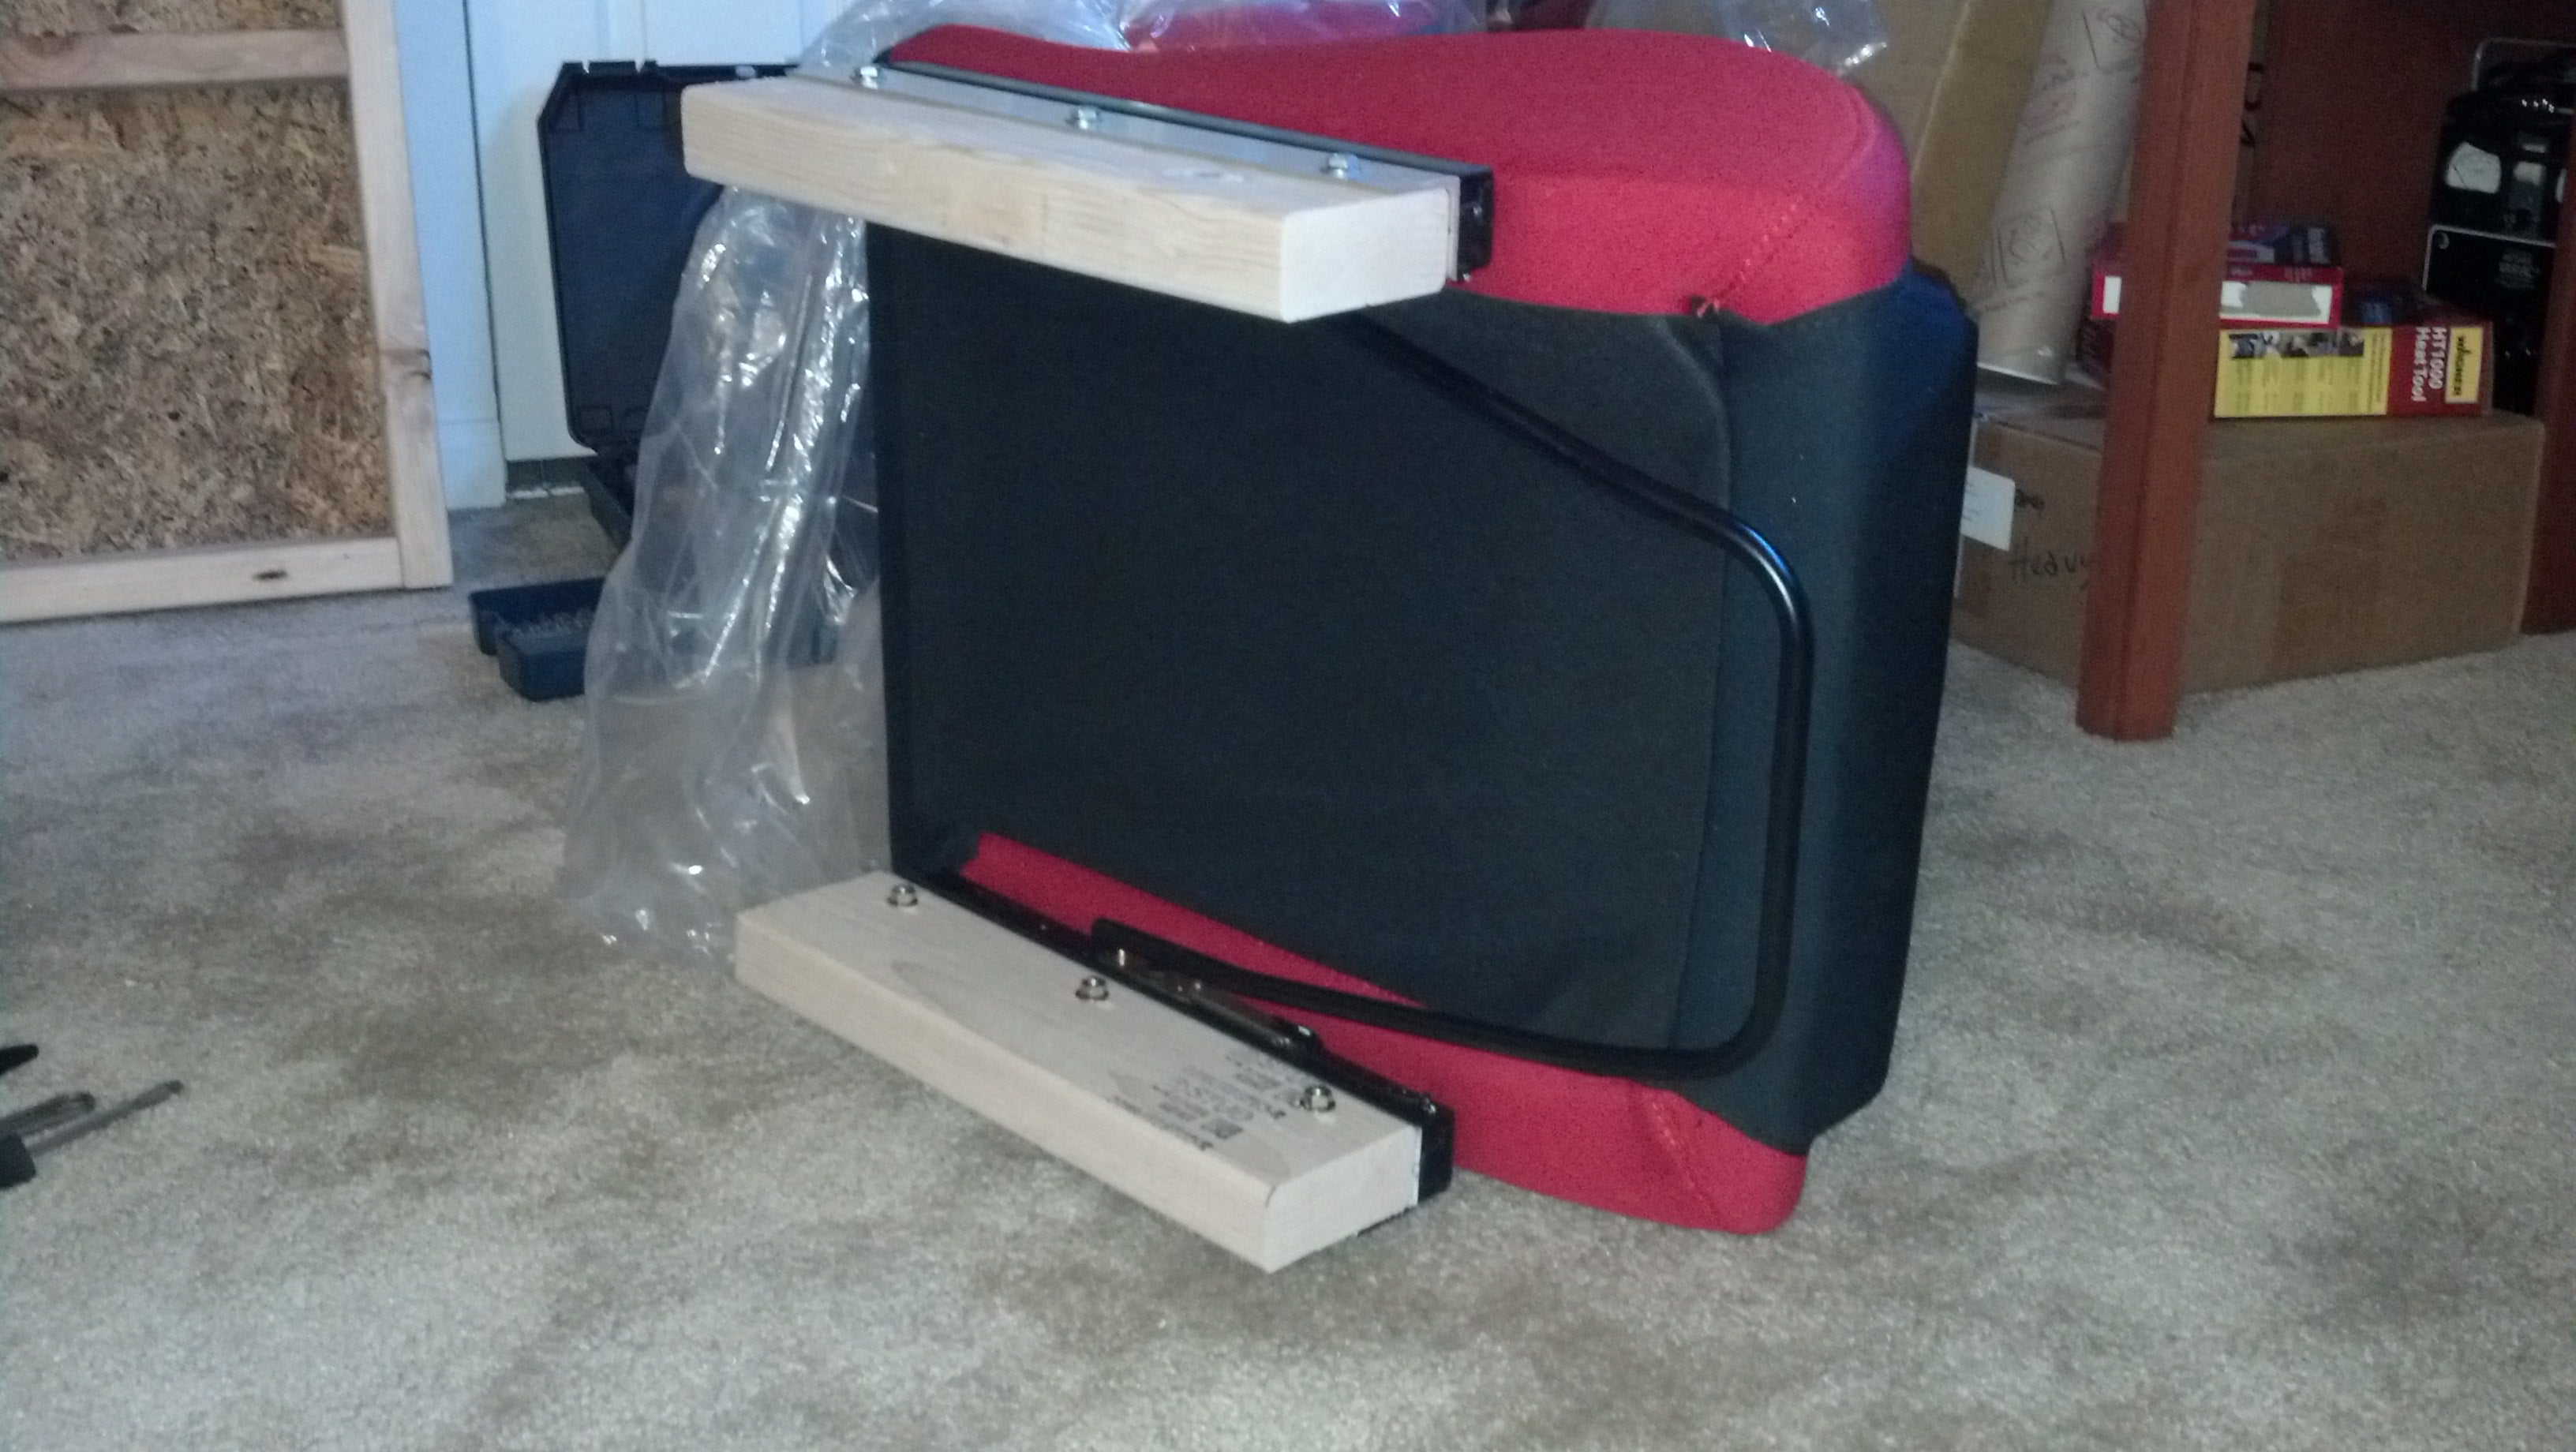
Here’s the setup as it stands now - nothing is fastened to the platform, but with things set in place as it is, it’s fairly comfortable and seems to be coming together well. Next up is trying to figure out where in space the steering wheel has to float, building the structure for that, then the shifter.
 Boxer_4
> MM54
Boxer_4
> MM54
01/31/2016 at 18:18 |
|
I feel like I’ve seen these brackets before...
Looking good!
 MonkeePuzzle
> MM54
MonkeePuzzle
> MM54
02/01/2016 at 12:15 |
|
this is a good start. a nice base!